
What Makes Tile Work Appealing as a DIY Project
Tile installation has long been a popular DIY target because the materials are widely available, instructional resources are plentiful, and the results are highly visible. A well-tiled backsplash can transform a dated kitchen, and completing it yourself avoids the labor markup that typically represents 40–60% of a professional tile job's total cost.
The core process — spread adhesive, set tile, let cure, grout, seal — is straightforward in principle. Unlike electrical or plumbing work, basic tile installation doesn't carry the same immediate safety risk if something goes wrong. That lowers the barrier to entry considerably for budget-conscious homeowners.
For context on pairing a tile project with a broader kitchen refresh, see our guide on setting up a functional kitchen without overbuying.
Significant labor cost savings on smaller projects
Professional tile installation labor typically adds 40–60% to total project cost. On a modest backsplash, doing the work yourself can mean saving several hundred dollars.
Low immediate safety risk compared to other trades
Unlike electrical or gas work, a tiling mistake generally won't cause immediate injury. This makes it a more forgiving entry point for homeowners building DIY skills.
Wide availability of tools and instructional resources
Wet saws and leveling systems are available for rent at most home centers, and detailed how-to guidance is easy to find, lowering the barrier to a competent first attempt.
High visual impact for the effort invested
A well-executed tile backsplash or floor update delivers one of the more dramatic visual improvements available at the DIY level, with durable results that can last decades.
Flexible pacing — no contractor scheduling required
DIY tile work can be done on your own timeline, paused between stages, and completed room by room without coordinating around a contractor's availability.
Where DIY Tile Work Gets Genuinely Risky
The difficulty of a tile project scales quickly with moisture exposure and surface complexity. A kitchen backsplash sits above a countertop and rarely contacts standing water — the stakes for imperfect grout are low. A shower floor, by contrast, is submerged in water daily. Any gap in the waterproofing membrane, any crack in the substrate, or any improperly sloped drain area can funnel moisture into the subfloor and wall framing for months before visible damage appears. By then, remediation costs often far exceed what was saved on labor.
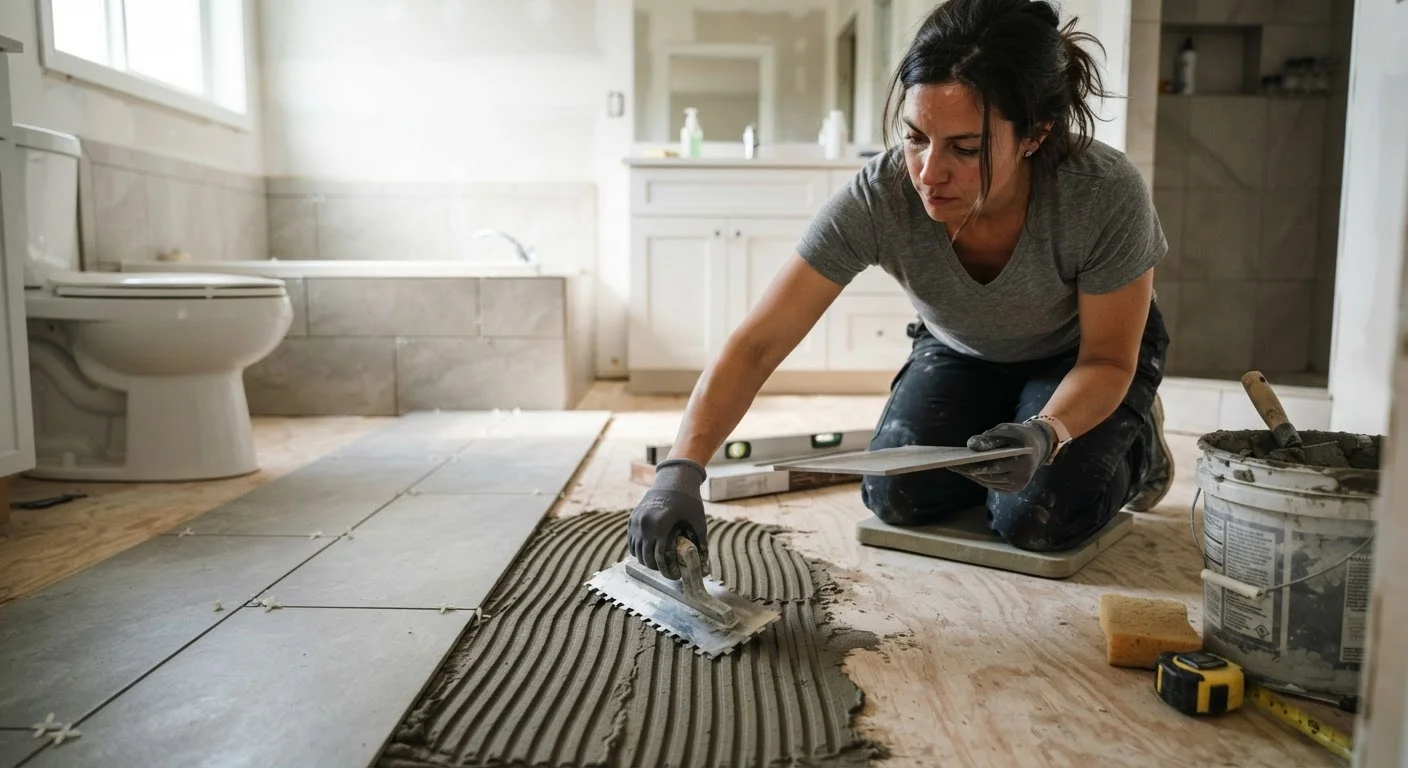
Substrate preparation is where most DIY tile failures originate. Tile needs a rigid, flat base — typically cement board in wet areas. Laying tile over a bouncy or uneven subfloor will cause grout to crack and tiles to loosen within a year or two. Assessing and correcting the substrate correctly requires experience that's hard to shortcut.
Large-format tiles (generally 18 inches or larger on one side) introduce additional challenges: they require back-buttering, precise leveling, and often specialty adhesive. Even minor lippage — where one tile edge sits higher than its neighbor — is immediately noticeable and difficult to correct after the fact.
Waterproofing errors cause serious hidden damage
Shower and wet-area installations require a properly applied waterproofing membrane. A gap or incomplete coverage can allow moisture to infiltrate framing and subfloor for months before damage becomes visible.
Substrate prep is difficult to assess and correct
Tile requires a flat, rigid, stable base. Identifying and correcting a problematic subfloor — deflection, unevenness, rot — requires experience that's genuinely hard to acquire from online tutorials alone.
Mistakes are costly and time-consuming to undo
Removing incorrectly set tile often damages the substrate beneath, adding a remediation step before the work can be redone. The cost of a redo can exceed the original savings on labor.
Large-format and specialty tile raises difficulty significantly
Tiles 18 inches or larger require precise leveling systems, back-buttering technique, and appropriate adhesive coverage — skills that take practice to execute consistently.
Tool investment or rental adds to project cost
A wet saw, notched trowels, leveling clips, a grout float, and a rubber mallet all add up. For a single small project, rental costs plus consumables can narrow the cost advantage over hiring out.
Local code compliance is the homeowner's responsibility
Permit requirements and approved methods for shower pans, drain placement, and substrate types vary by jurisdiction. Unpermitted work that doesn't meet code can complicate home sales or insurance claims.
If your tile project is part of a bathroom renovation, our piece on small bathroom upgrade ideas covers complementary improvements worth considering at the same time.
Permits, Codes, and When a Pro Should Be Involved
Most jurisdictions don't require a permit for straightforward tile replacement — swapping old tile for new on an existing, sound substrate. However, if your project involves altering the shower pan, relocating a drain, or any work touching plumbing or structural elements, permit requirements vary by municipality and are your responsibility to verify before starting work.
Check Local Permit Requirements Before Starting
Permit rules for tile work vary significantly by municipality. Simple replacement tiling on an existing substrate rarely requires a permit, but any work that touches plumbing, alters a shower pan, or affects structural elements may require one. Contact your local building department before beginning to confirm what applies to your specific project. Unpermitted work that doesn't meet code can create complications when you sell your home or file an insurance claim.
Even when no permit is required, certain situations call for a licensed tile setter or waterproofing specialist: custom shower pans built with a mortar bed, steam shower enclosures, tile over radiant heating systems, and any installation where the subfloor condition is uncertain. Getting the waterproofing layer wrong in these scenarios isn't a cosmetic problem — it's a structural one.
For a broader look at how renovation costs can escalate when hidden issues surface, see the hidden costs of renovation projects. And if you're managing contractors alongside any DIY portions, keeping a renovation on track offers practical habits that help avoid disputes and delays.
Practical Tips for DIYers Who Decide to Proceed
If you've assessed your project and determined it's within reach, a few habits separate successful DIY tile jobs from expensive do-overs:
- Measure and order carefully. Add at least 10% to your tile order to account for cuts and breakage. Running short mid-project and facing a discontinued or dye-lot-mismatched tile is a common frustration.
- Invest in substrate prep. Flatten high spots with a floor grinder or fill low spots with leveling compound before a single tile goes down. This step is unglamorous but critical.
- Rent a quality wet saw. Score-and-snap cutters work for simple straight cuts, but any curve, corner, or notch requires a wet saw. Rental options are available at most home improvement stores for a reasonable daily rate.
- Use the right adhesive for the application. Mastic adhesive is not appropriate for wet areas. Use a polymer-modified thin-set mortar rated for the surface and tile type you're working with.
- Seal grout after it fully cures. Unsealed grout in kitchen and bathroom environments stains quickly and is difficult to clean. Allow full cure time per the manufacturer's guidance before applying sealer.
The discipline applied to a tile project has parallels in other DIY domains — similar judgment about when to proceed and when to defer appears in our article on DIY car maintenance.