
Why Fluid Checks Belong in Your Regular Routine
Your car depends on six key fluids to run safely: engine oil, coolant, brake fluid, transmission fluid, power steering fluid, and windshield washer fluid. Each one does a specific job, and when any of them drops low or degrades, it can quietly cause damage — or create a sudden safety hazard on the road.
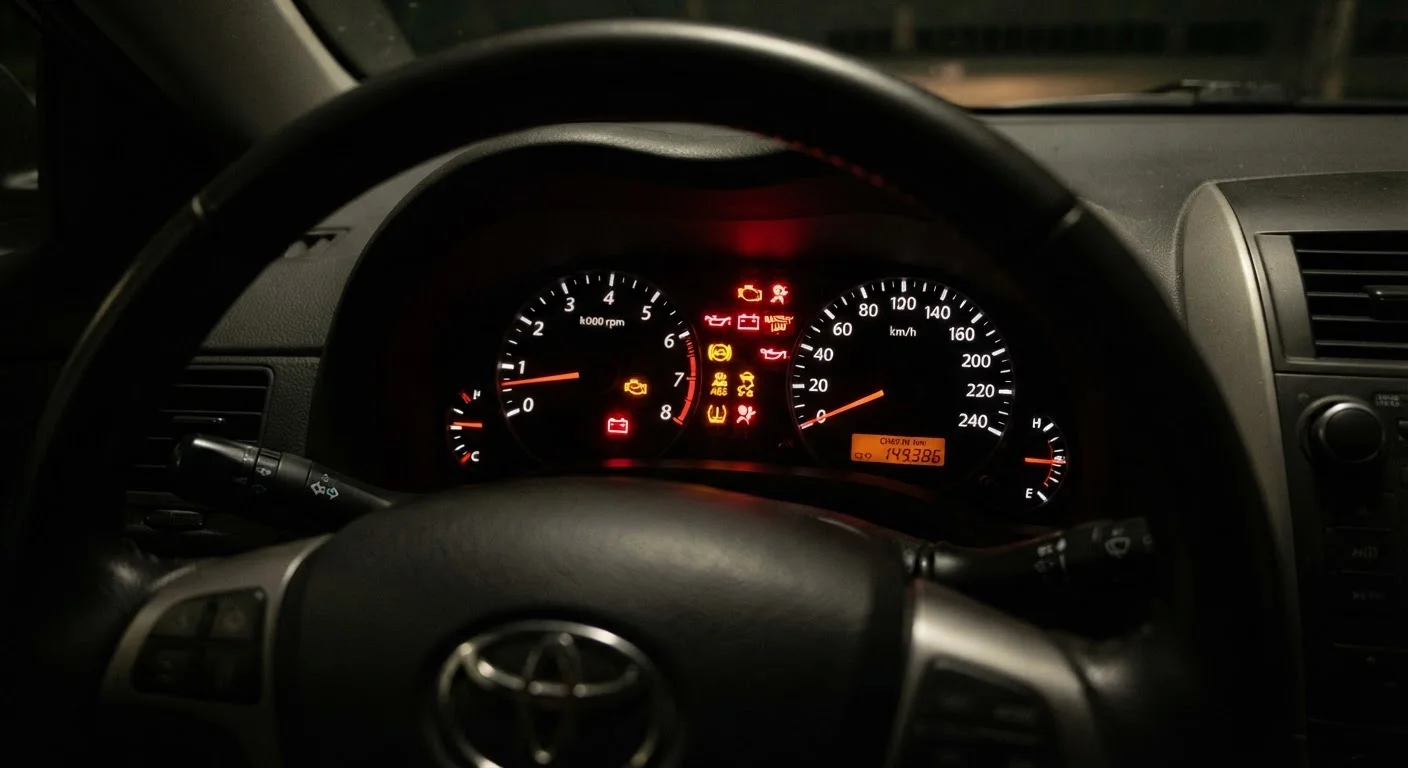
The good news is that checking these fluids costs nothing and takes less time than a trip through a drive-through. Most drivers who develop this habit catch problems early, before a warning light appears or a roadside breakdown happens. Speaking of warning lights — if one does appear on your dash, our guide to dashboard warning lights explains what each symbol means and when to act fast.
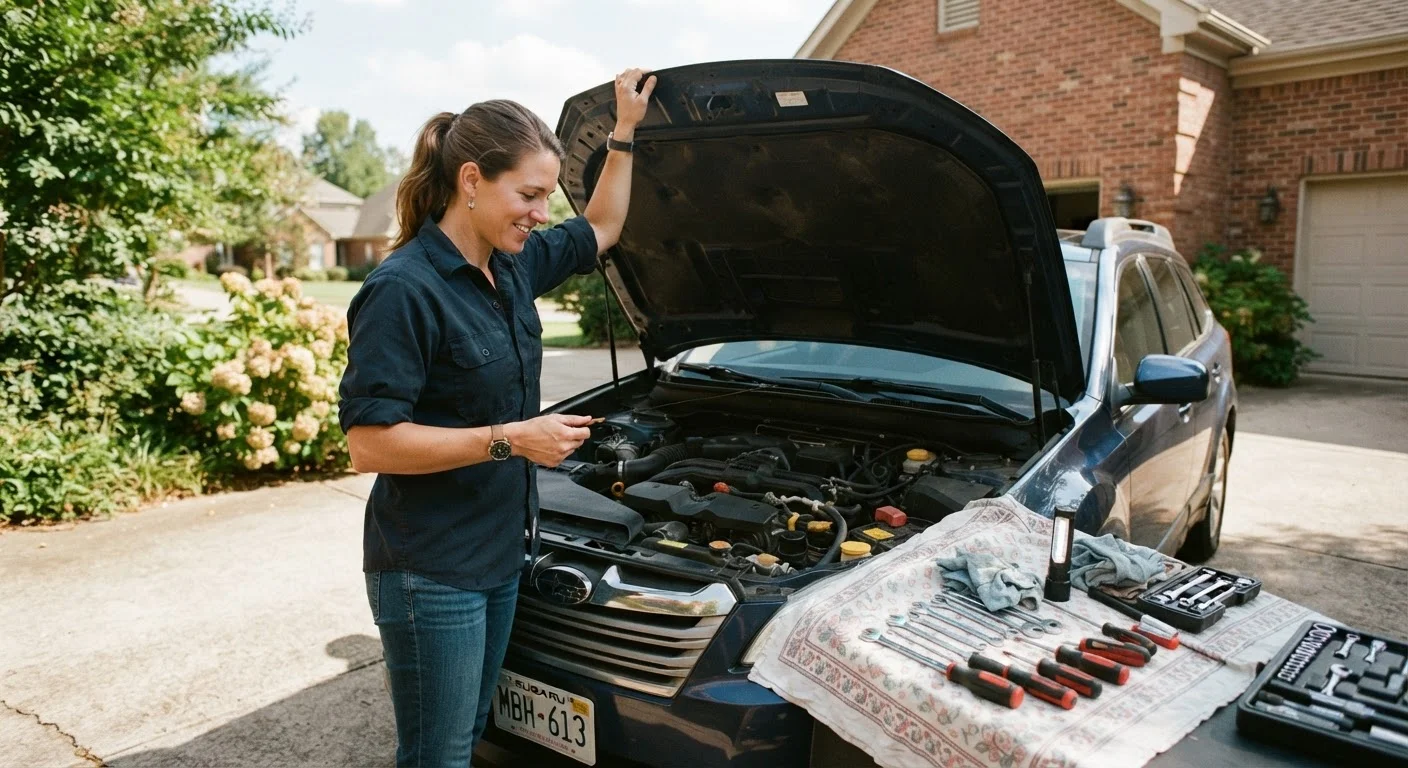
Fluid checks are also one of the clearest examples of maintenance you can handle yourself safely. For a broader look at what's DIY-friendly and what should stay in a mechanic's hands, see DIY car maintenance: what's safe to do yourself.
What you will need
What You'll Need Before You Start
You don't need a garage full of tools to check your fluids. The list is short, and most items you probably already have. The single most important resource is your owner's manual — every vehicle places its reservoirs and dipsticks in slightly different locations, and the manual tells you exactly what fluid type each system requires. Using the wrong fluid can cause as much harm as running low.
Owner's Manual
Identifies the correct fluid specifications, dipstick locations, and reservoir caps for your specific vehicle.
Clean Rags or Paper Towels
Used to wipe dipsticks clean before taking a reading and to catch any drips.
Flashlight
Helps you see into reservoirs and read dipstick markings in low-light conditions.
Nitrile Gloves
Protects your hands from brake fluid and coolant, both of which can irritate skin.
How to Check Each Fluid Step by Step
Work through each fluid in the order below. Doing them together on the same day makes it easier to track what's normal for your vehicle and spot changes over time.
Let the Engine Cool Completely
Before opening anything under the hood, make sure the engine has been off for at least 30 minutes — longer after highway driving. A hot engine pressurizes the cooling system, and opening the radiator or coolant cap while hot can cause scalding fluid to spray. Most fluid checks are also more accurate when the engine is cold.
Check the Engine Oil
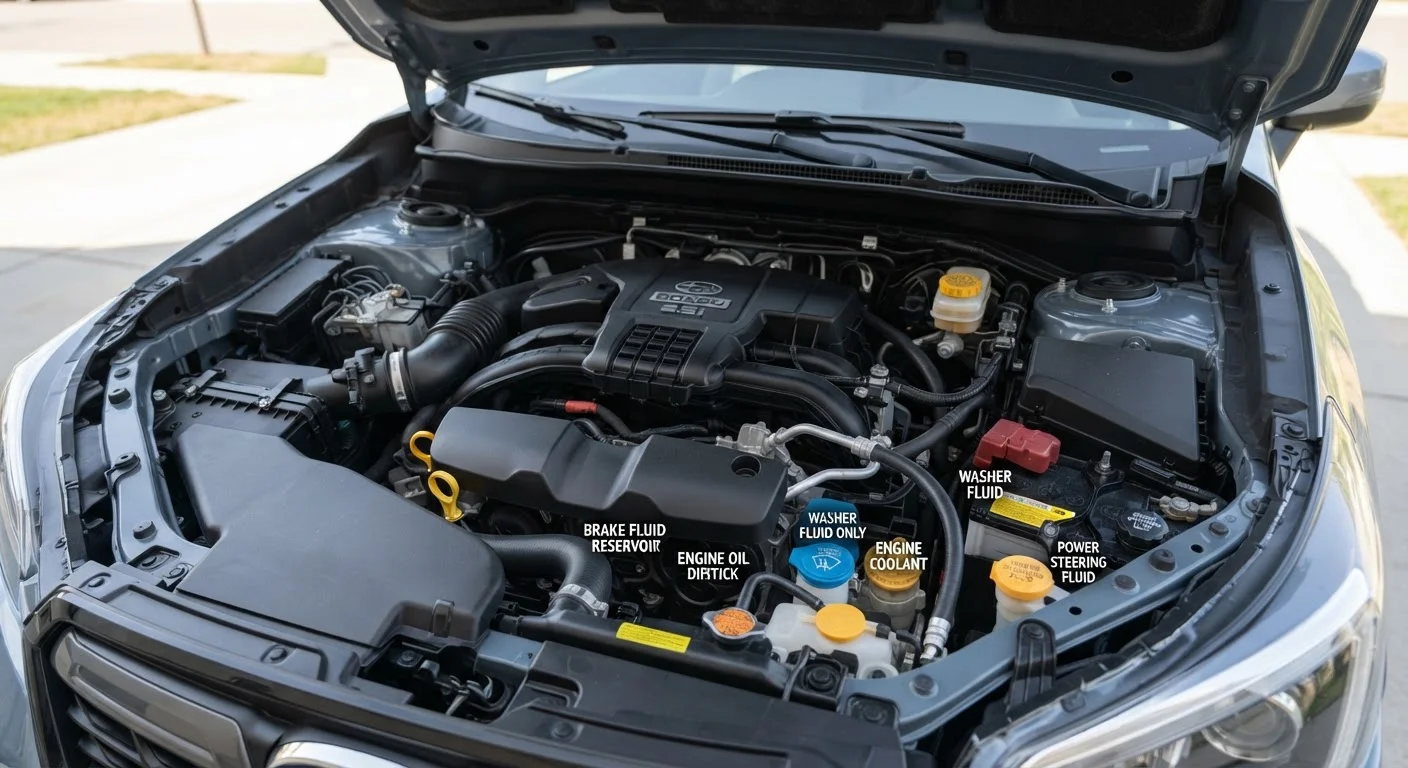
Pull out the oil dipstick — usually marked with a bright handle — wipe it clean, reinsert it fully, then pull it out again. The oil should sit between the two marks at the tip. Color matters: fresh oil is amber; oil that looks black and gritty is overdue for a change. A milky or foamy appearance can indicate coolant mixing with oil, which requires immediate professional diagnosis.
Inspect the Coolant (Antifreeze)
Coolant keeps your engine from overheating in summer and freezing in winter. Locate the translucent coolant reservoir — it has MIN and MAX lines visible from the outside, so you typically don't need to open it when the engine is hot. The fluid should be bright green, orange, or pink depending on type. Cloudy, rusty, or oily coolant is a problem. See your owner's manual for the interval to flush and replace coolant.
Check the Brake Fluid
The brake fluid reservoir is typically a small translucent plastic container near the back of the engine bay on the driver's side. Check the level against the MIN/MAX markings on the outside. Brake fluid should be pale yellow and nearly clear. Dark brown fluid has absorbed too much moisture and has degraded — it needs to be flushed. If the level is low without an obvious cause, have your brake system inspected before driving further.
Examine the Power Steering and Transmission Fluids
Power steering fluid (on vehicles without electric power steering) is usually checked via a small reservoir or dipstick near the front of the engine. It should be clear to light pink; dark or burnt-smelling fluid needs attention. Transmission fluid on many vehicles requires a warm engine and the transmission in Park — consult your owner's manual. It should be red or pink, not brown or burnt-smelling. Note that many newer vehicles have sealed transmissions with no user-accessible dipstick.
Top Off the Windshield Washer Fluid
Windshield washer fluid is the one fluid you can safely add yourself without worrying about the wrong type or level consequences — as long as you use a washer fluid formulated for your climate. In winter, use a freeze-resistant formula. Never substitute plain water, especially in freezing temperatures, as it can crack the reservoir and lines. The reservoir is usually clearly labeled with a windshield icon.
Brake Fluid: Never Ignore Warning Signs
If your brake fluid is consistently low, dark brown, or if your brake pedal feels soft or spongy, stop driving and have the vehicle inspected by a qualified mechanic immediately. Brake fluid loss can indicate a system leak — a condition that can cause brake failure. Do not top off and drive on; find the root cause first.
How Often Should You Check?
A general rule of thumb: check engine oil every one to two months, or before any long road trip. Brake fluid, coolant, and transmission fluid are less prone to sudden drops, but a quick visual inspection every few months takes only seconds and can catch a slow leak before it becomes serious.
Fluid needs can also shift with the seasons. Hot summers stress your cooling system, while cold winters affect fluid viscosity and battery performance. Our seasonal car maintenance guide walks through what to prioritize in both warm and cold months.
Finally, if you want to make fluid checks part of a broader habit, consider adding them to a quick pre-drive safety check — a simple routine that takes under five minutes and covers the basics before you turn the key.