
Why Budget TVs Look Worse Than They Should Out of the Box
A lower-priced TV can still deliver a genuinely good picture — but you're unlikely to see it right away. Manufacturers pre-load these sets with picture modes tuned for one environment: the brightly lit retail floor. Settings like Vivid or Dynamic crank backlight, contrast, and color saturation to extreme levels so the panel grabs attention next to a dozen competitors. The result at home, under normal lighting, is a harsh, often bluish image that looks nothing like what the hardware is actually capable of.
If you've ever felt let down after bringing a TV home from the store, the explanation is almost certainly settings — not the panel itself. As we cover in detail in why a showroom TV can look disappointing at home, retail display tuning is deliberately aggressive, and correcting it takes only a few minutes.
The Right Starting Point: Choose a Better Picture Mode
Before touching individual sliders, change the picture mode. Every TV organizes its settings into presets — and the one to start with is usually called Movie, Cinema, or Filmmaker Mode (the exact label varies by manufacturer). These modes use a more neutral color temperature and a lower backlight level, which immediately produces a more natural, film-like image.
From there, you can fine-tune. If the image feels too dim for your room, raise the backlight control (not brightness — these are different). Backlight sets how bright the panel's light source is; brightness (sometimes labeled black level) controls where true black sits on the scale. Raising backlight in a bright room is appropriate. Raising brightness usually washes out shadow detail.
The Controls That Actually Matter
Televisions often have a long list of picture adjustments, and most of them have a marginal effect. Focus your attention on these high-impact controls:
- Color Temperature / White Balance: Set this to Warm or Warm 2. The default Normal or Cool setting adds a blue tint that looks unnatural on skin tones and produces inaccurate whites.
- Sharpness: Counter-intuitively, budget TVs ship with sharpness set far too high, which creates an artificial, ringing edge around objects. Reducing sharpness to 0–10 out of 100 usually produces a cleaner picture.
- Noise Reduction / Edge Enhancement: Turn these off entirely. These processing features smooth over detail and can make motion look smeared, especially on compressed streaming content.
For a full breakdown of what each display setting does at the hardware level, our complete display technology guide covers panel types, HDR, and processing in plain language.
Motion Settings: When Smooth Isn't Better
Most budget TVs include a motion-interpolation feature — sold under names like Motion Smoothing, Auto Motion Plus, or TruMotion. This processing inserts artificially generated frames between real ones, which is intended to reduce blur during fast sports action. The side effect is widely disliked: movies and TV dramas take on a hyper-real look sometimes called the soap opera effect, making filmed content look like it was shot on a cheap camcorder.
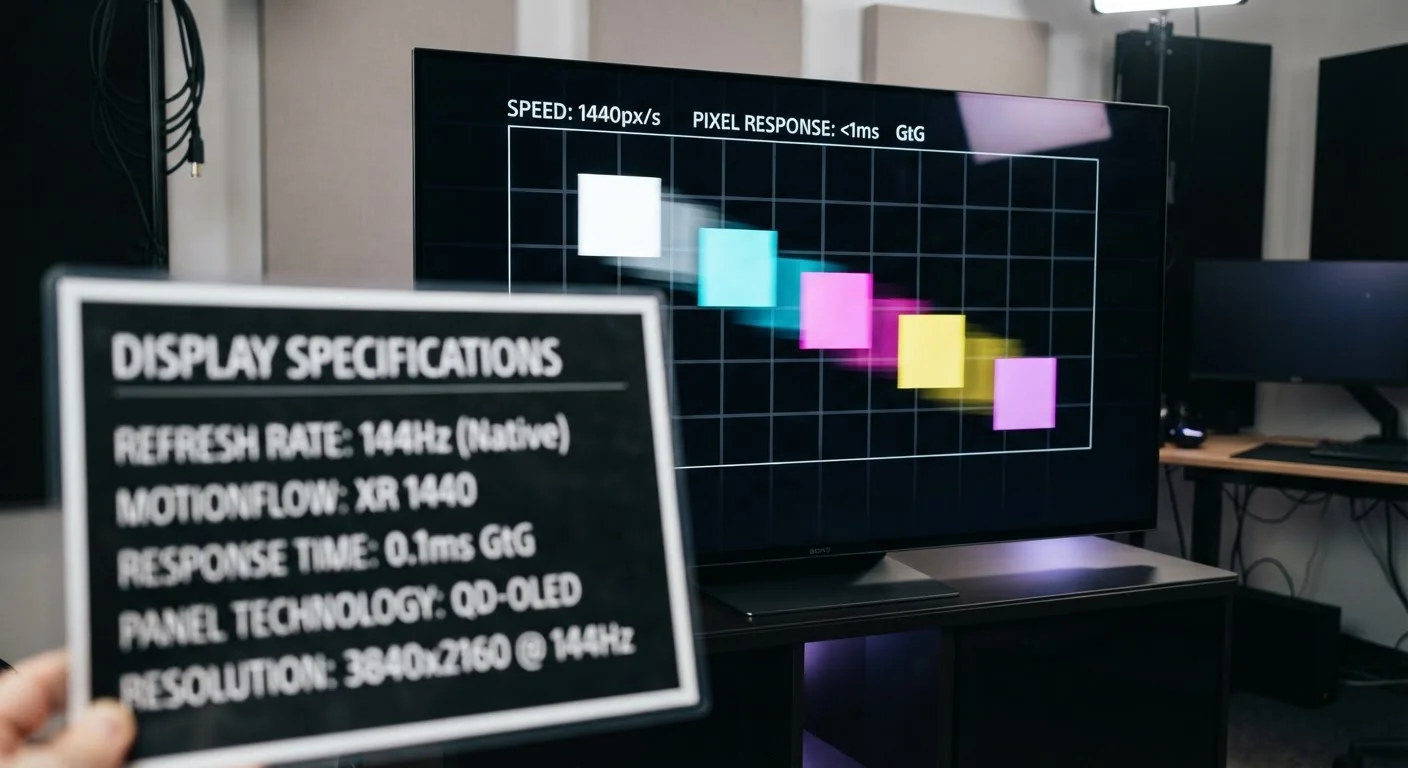
For most viewing, turn this feature off or set it to its lowest value. Some TVs offer a Custom option that lets you reduce blur without adding the frame-interpolation artifact. If you watch a lot of live sports, a low setting can help — but keep a separate note of where the slider is so you can toggle back for other content. You can learn more about how refresh rate specifications relate to this in our article on refresh rate and marketing numbers.
Free Tools to Calibrate Without Guessing
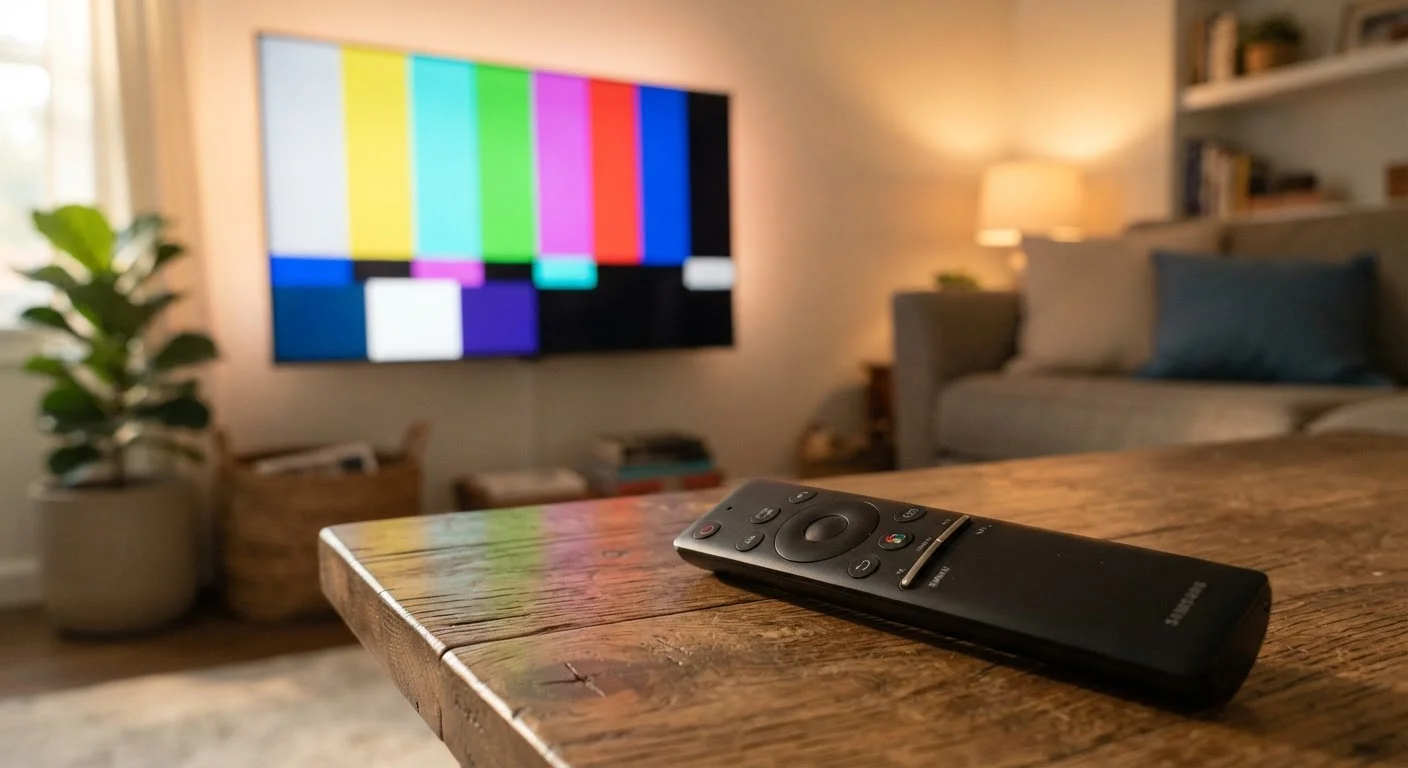
Professional calibration equipment costs hundreds of dollars, but basic calibration is achievable for free. Services like Disney+, Netflix, and YouTube offer test pattern content specifically designed to help set black level, color, and sharpness by eye. Organizations such as the Imaging Science Foundation publish free guidance on recommended target values for consumer displays.
The process isn't complicated: play a test pattern, adjust the corresponding setting until the image matches the guidance, then move to the next control. Start with black level, move to contrast (peak white), then color. Each takes about two minutes. When you're done, run through this checklist of things to verify before concluding a TV looks bad to confirm your source signal and input settings aren't introducing problems the calibration alone won't fix.
The settings guidance in this article applies generally to most consumer televisions; exact menu names and options vary by manufacturer and model. If you are new to TV features and terminology, see everything first-time TV buyers need to know for a foundational overview before adjusting settings.