
Why the Store Environment Is Designed to Impress, Not Inform
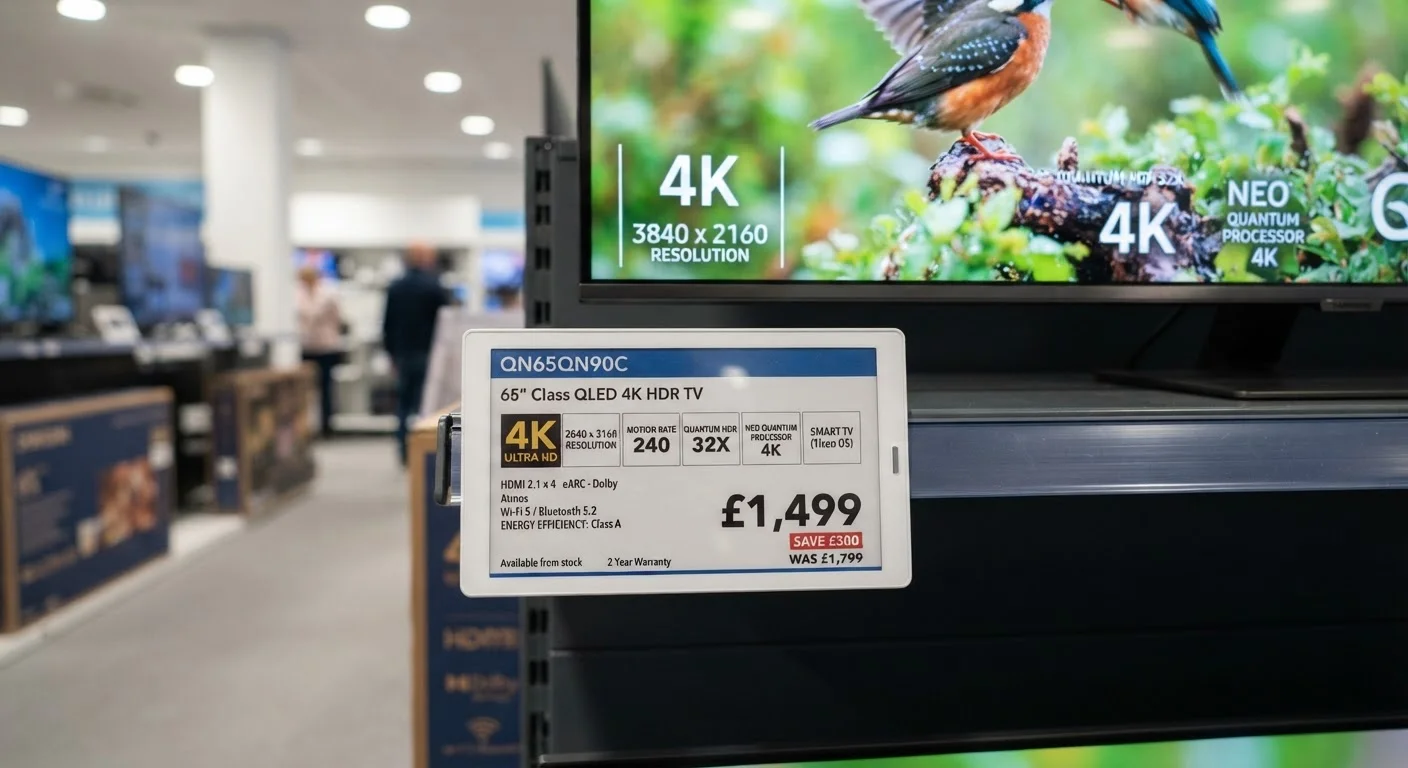
Walk into any large electronics retailer and you'll notice the TV wall is flooded with bright overhead lighting — often two to three times more intense than a typical living room. That environment isn't accidental. High ambient light washes out contrast, so manufacturers and retailers configure display units to push brightness and color saturation to their absolute limits just to remain visible. The result is a picture that pops in the store but can feel flat, dim, or over-processed once that same TV sits in your home.
Showroom sets almost always ship in a picture mode called Vivid or Dynamic — a preset that cranks backlight intensity, sharpens edges artificially, and pumps up color saturation well past what any content creator intended. This mode is built for retail floors, not living rooms. Once you get home, that hyper-vivid look can actually make skin tones appear orange and shadow detail get crushed into murky gray.
Understanding this gap before you shop is the first step toward making a confident decision. Our TV specs guide explains what the numbers on a display label actually mean — a useful read before stepping into a store.
Common Mistakes That Lead to Disappointment
Most buyers don't realize the extent to which showroom conditions manipulate their judgment. Below are the most frequent errors people make, and what you can do differently.
Judging a TV's quality solely by how it looks on the showroom floor under retail lighting.
Why it happens: Bright store environments require extreme brightness settings to maintain picture visibility, so every TV looks more vivid than it will at home.
Assuming the Vivid or Dynamic picture mode reflects how the TV will look by default at home.
Why it happens: Retailers preset display units in high-output modes to compete with overhead lighting, and many buyers assume that's how the TV always performs.
Ignoring the panel type and only focusing on peak brightness numbers when choosing a TV.
Why it happens: High nit counts are easy to advertise and sound impressive, but a TV's panel technology — OLED, QLED, or standard LED — determines contrast performance in ways a single number can't capture.
Overlooking how room lighting at home will interact with the screen's reflectivity.
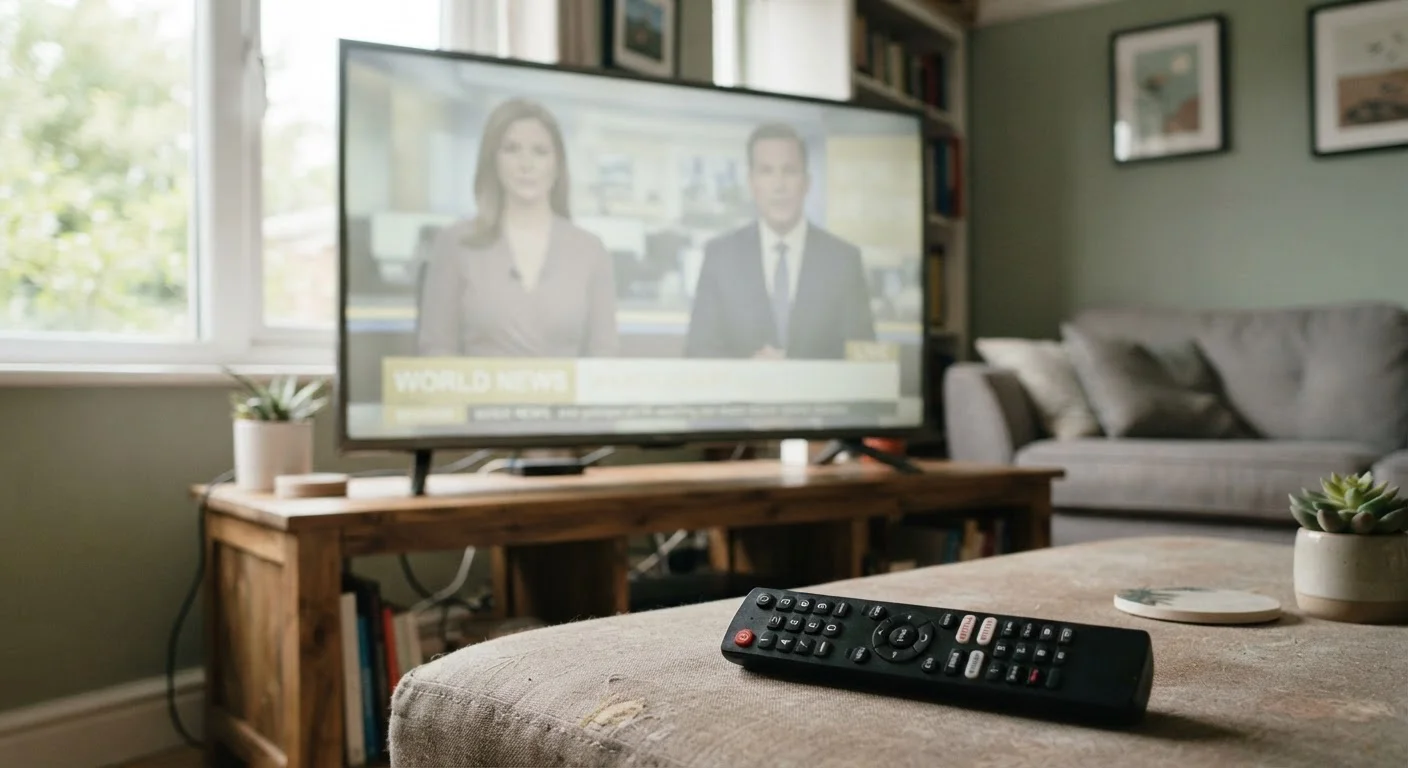
Why it happens: Buyers focus on the image itself in-store, not on how windows, lamps, or overhead lights in their own home might create glare or wash out the picture.
Leaving all post-purchase settings at factory defaults because adjusting them feels too technical.
Why it happens: TV menus can be dense and intimidating, and many buyers worry about making the picture worse if they start changing values.
If you bring a TV home and the picture still looks off after adjusting settings, it's worth running through some diagnostic checks. Our article on what to check before deciding a TV picture looks bad walks through the process step by step.
How to Calibrate Your Way to a Better Picture
The good news is that most of the showroom-to-home gap is recoverable through settings adjustments. Start by switching your picture mode to Cinema, Movie, or Filmmaker Mode if your TV offers it — these presets target accuracy rather than punch. Then reduce the backlight or OLED pixel luminance to a level that suits your room's typical lighting. Sharpness should almost always be reduced from its default, since artificial sharpening adds edge artifacts that look unnatural on real content.
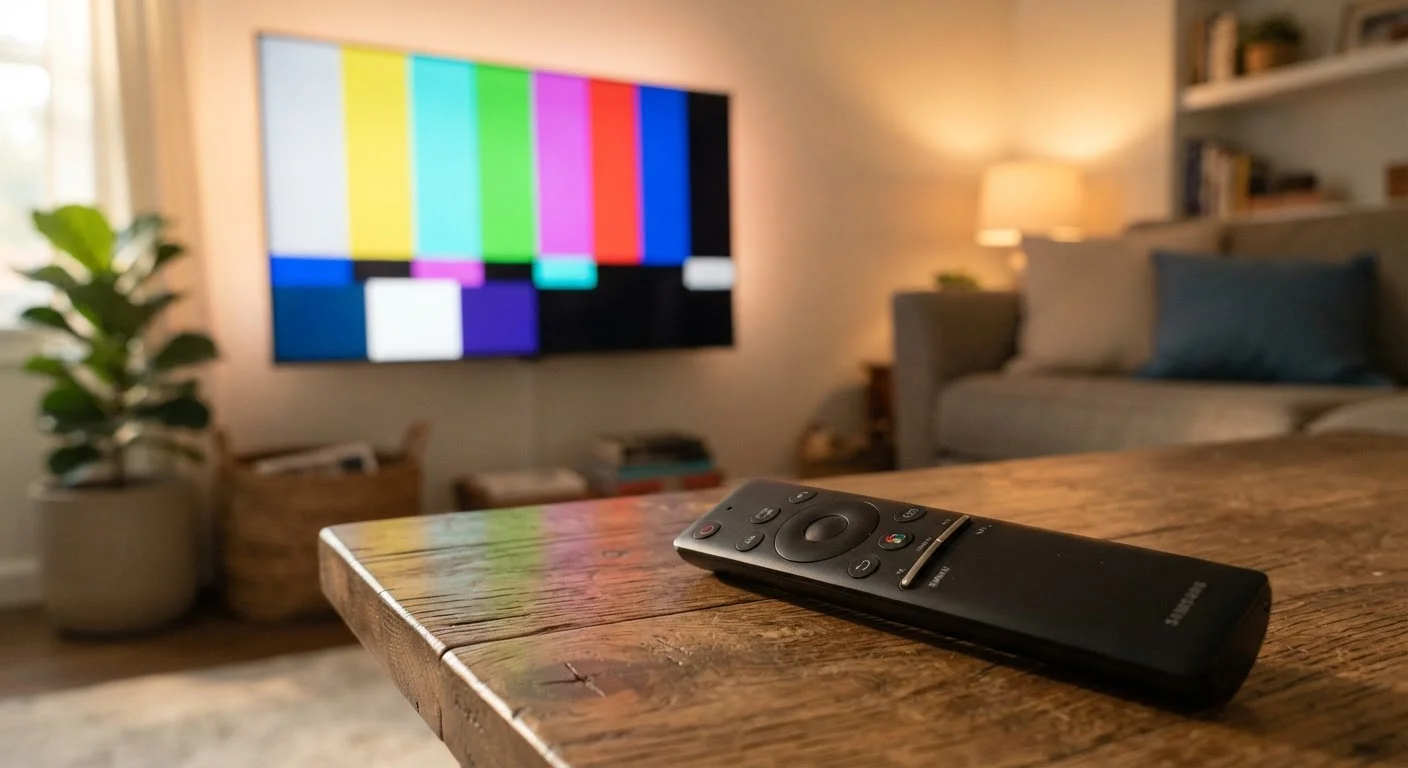
Color temperature is another area where showroom units commonly mislead. Retail sets often run a cool or blueish white balance that reads as crisp and bright in-store but feels clinical at home. Moving to a warm or neutral setting typically produces more lifelike results. Budget TVs especially tend to look worse than they should straight out of the box — the picture settings guide for budget TVs covers these adjustments in practical detail.
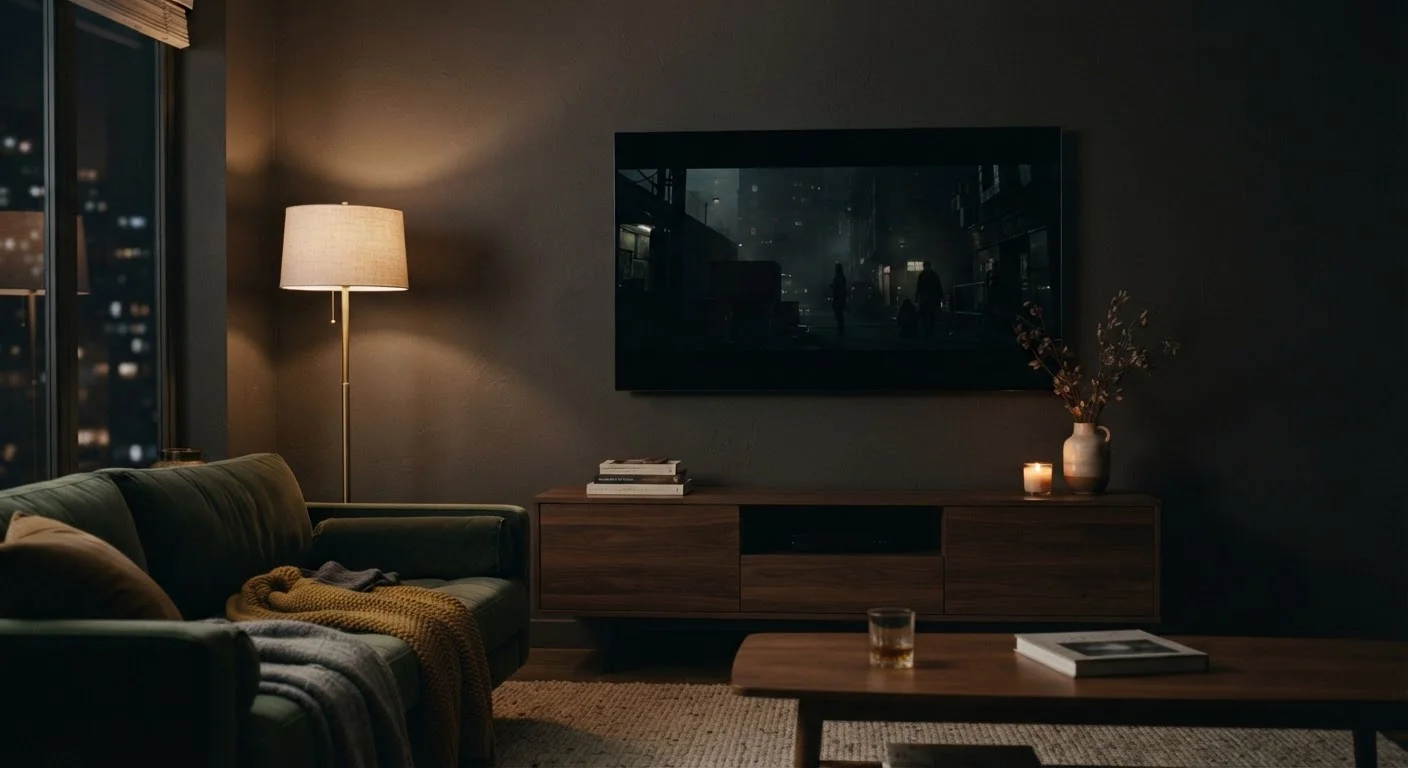
Finally, consider the role your TV's backlight technology plays. Edge-lit panels can struggle with uniformity in dark rooms, while full-array local dimming preserves contrast more effectively — a meaningful real-world difference. See our explainer on backlight types and local dimming for what that distinction means in practice.
3–5×
Typical store vs. home ambient light intensity
Retail electronics floors commonly measure 1,000–2,000 lux; a typical living room at night ranges from 50–200 lux, creating a dramatic perceptual gap.
~30–50%
Backlight reduction recommended for home use
Display calibration standards suggest most home environments are best served by backlight levels well below factory-set maximums used in retail demos.