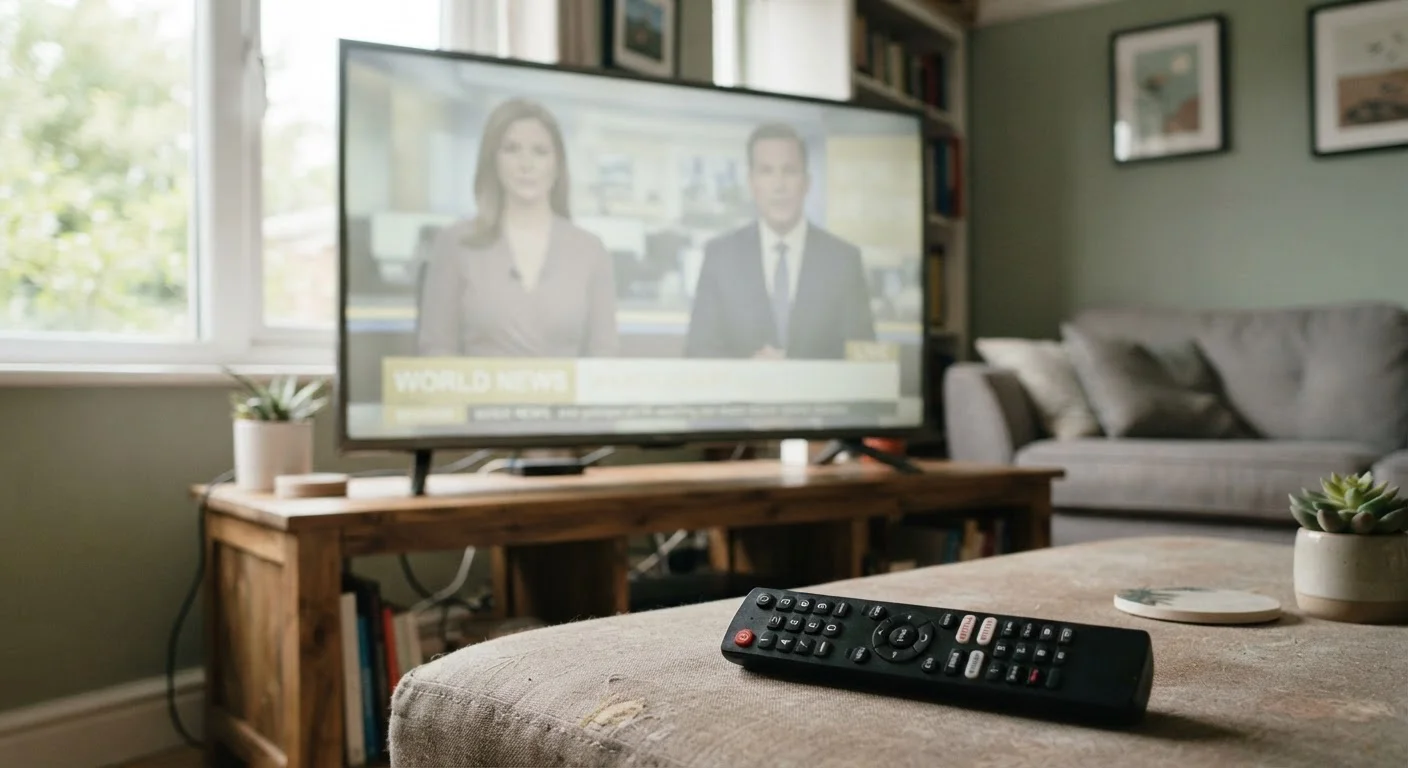
Before concluding a TV has poor picture quality, run through these settings, inputs, and source checks first.
Key Takeaways
Most picture quality complaints trace back to default settings, not a defective panel.
The source signal and cable quality matter as much as the TV's own processing.
Picture mode, backlight level, and motion settings are the three most impactful controls to check first.
Ambient room lighting significantly affects how a TV's picture is perceived.
Running through this checklist before returning or replacing a TV can save time and money.
Why Your TV's Picture May Not Be the Problem
A TV that looks muddy, overly bright, washed out, or artificially sharp right out of the box is not necessarily a bad TV. The vast majority of picture quality complaints come down to three factors: factory default settings optimized for showrooms rather than living rooms, a weak or mismatched source signal, or viewing conditions that work against the display's strengths.
Before concluding you have a lemon — or before spending hours in return lines — it pays to run a structured audit. The checklist below covers the most common culprits, ordered roughly from quickest to check to most involved. Even if you only work through the first group, you may find an immediate improvement.
For a broader understanding of how display technology affects what you see, our full display technology guide explains panel types, resolution, and picture processing in plain language.
Picture Mode & Core Settings
Switch out of "Vivid" or "Dynamic" picture mode — these are tuned for bright stores and typically blow out colors and contrast at home. Try "Movie," "Cinema," or "Filmmaker" mode instead.Must
Lower the backlight setting to a level appropriate for your room's ambient light; an overly high backlight flattens perceived contrast and causes eye fatigue.Must
Check the sharpness control — many TVs ship with it set above 50, which adds artificial edge halos rather than genuine detail. A setting of 0–20 often looks more natural.Must
Disable or reduce motion smoothing (often labeled "Auto Motion Plus," "TruMotion," or "MotionFlow") if content looks unnaturally smooth or soap-opera-like.Should
Confirm that any "Energy Saving" or "Ambient Light Detection" mode isn't automatically dimming the picture based on room sensors.Should
Source Signal & Cable Quality
Verify that the content you're watching is actually the resolution you expect — a 4K TV displaying a 1080p or 720p stream will upscale, which can look soft.Must
Swap the HDMI cable for a known-good one; damaged or low-quality cables can cause color banding, flickering, or signal drop-outs that mimic panel defects.Must
Check that you're using an HDMI port that supports the required standard for your device — HDMI 2.1 for 4K/120Hz, HDMI 2.0 for 4K/60Hz — as mismatched ports limit signal quality.Should
Test the same content from a different source (a Blu-ray player, a different streaming stick, or a gaming console) to isolate whether the issue is in the source device or the panel.Should
HDR & Color Settings
Confirm HDR is actually active when watching HDR content — check the TV's info panel or status bar to verify the signal type being received.Must
Enable "HDMI Ultra HD Deep Color" or equivalent setting on the port connected to your HDR source; this is disabled by default on many TVs and blocks proper HDR delivery.Must
Check that color temperature is set to "Warm" rather than "Cool" — cool settings push the image toward blue-white and make skin tones look unnatural.Should
Disable any automatic color enhancement features ("Live Color," "Color Booster") that oversaturate the image.Nice to have
Viewing Environment
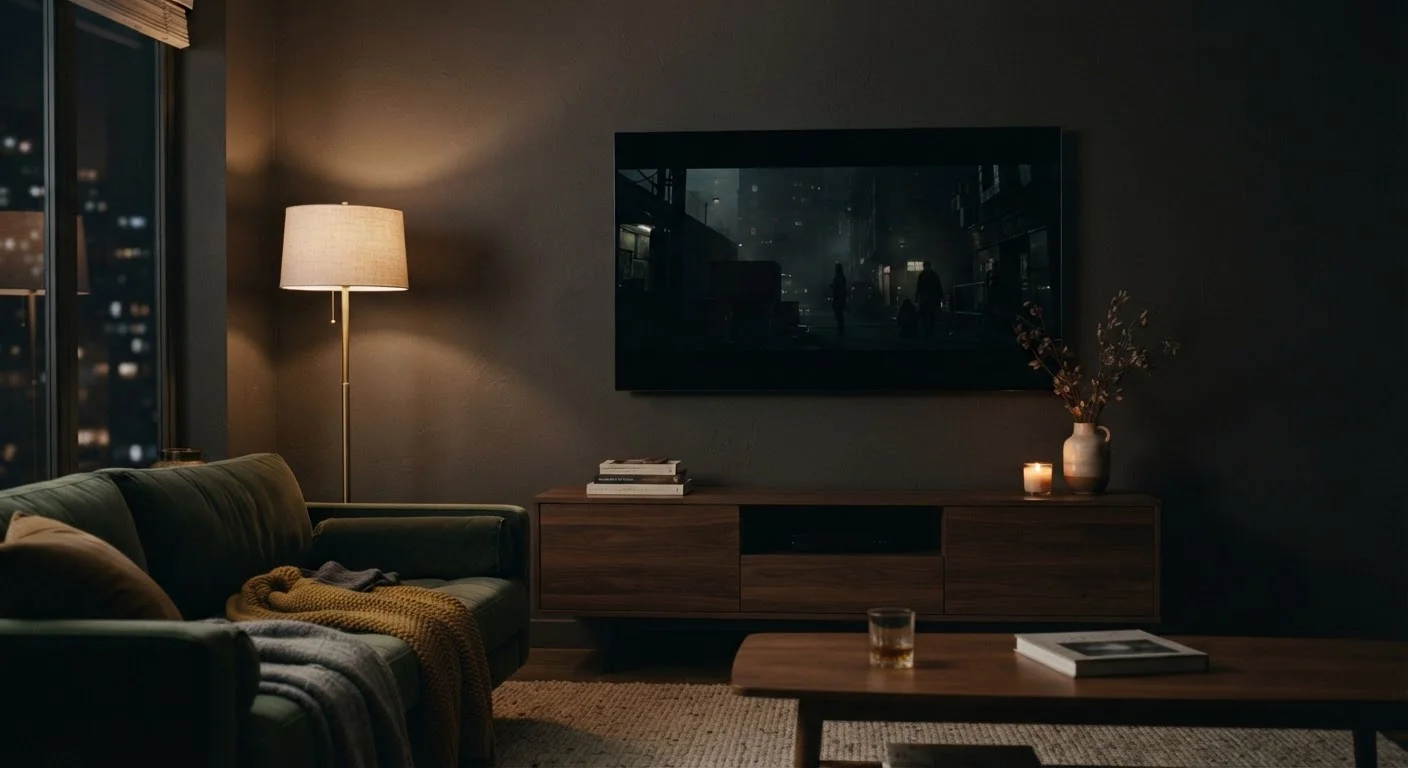
Assess the room's ambient light — direct sunlight or bright overhead lights falling on the screen wash out contrast and color on any panel type.Must
Sit within the TV's recommended viewing angle; many LCD panels (especially VA and TN types) show color shift and contrast loss beyond about 30–40 degrees off-center.Should
Add bias lighting behind the TV (a strip of neutral-white LEDs) to reduce the perceived contrast between the bright screen and a dark wall, which helps the eye perceive deeper blacks.Nice to have
Firmware & Input Settings
Check for and install any pending firmware updates from the TV's settings menu — manufacturers often push picture processing improvements after launch.Should
Confirm the correct input label is applied to each HDMI port; an input labeled "PC" can trigger a different picture processing mode that looks flat compared to "Home Theater" or standard modes.Should
What to Do After Running the Checklist
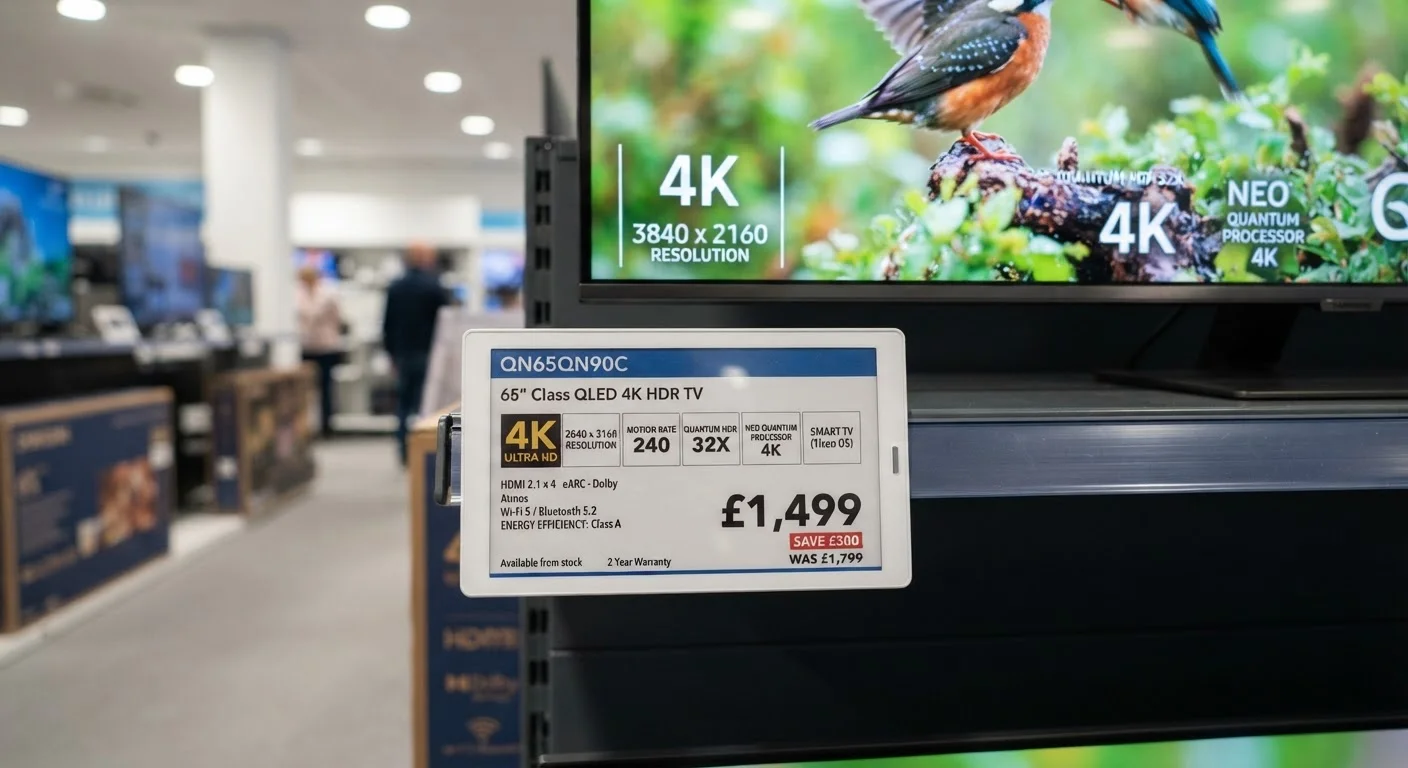
If you've worked through every item above and the picture still doesn't satisfy you, it's worth understanding whether your expectations match what the TV's panel type and price tier can actually deliver. Decoding TV spec sheet numbers can help you assess whether the display's brightness, contrast, and color specs are suited to your room and viewing habits.
It's also worth remembering that store demo units are deliberately configured to look as striking as possible under powerful retail lighting — a setup that rarely translates to a typical home environment. Understanding that gap between showroom and living room can reframe expectations constructively.
If budget was a factor in your purchase, targeted picture settings adjustments can meaningfully close the gap between a lower-priced TV's out-of-box appearance and its genuine potential.
Don't Judge Picture Quality on Default Settings
Factory default settings — especially "Vivid" or "Dynamic" modes — are engineered to attract attention in brightly lit retail environments, not to represent accurate or comfortable home viewing. Forming a final opinion about a TV's picture quality before adjusting at least the picture mode and backlight level is likely to lead to an unfair assessment. Spend 10 minutes in the settings menu first.
Electronics Explained Editorial Team is the collective byline for our editorial team and contributor network. Articles published under this byline or an editorial pen name are researched, written, and reviewed according to our editorial standards for clarity, consistency, and independence before publication.
The content provided on our blog site traverses numerous categories, offering readers valuable and practical information. Readers can use the editorial team’s research and data to gain more insights into their topics of interest. However, they are requested not to treat the articles as conclusive. The website team cannot be held responsible for differences in data or inaccuracies found across other platforms. Please also note that the site might also miss out on various schemes and offers available that the readers may find more beneficial than the ones we cover.