

Why Renovations Go Wrong — and What Sets Experienced Homeowners Apart
Most renovation problems don't start on the job site. They start weeks earlier, in conversations that were too vague, contracts that were too thin, and budgets that assumed everything would go according to plan. Experienced homeowners have usually learned these lessons the hard way — and the habits they develop afterward aren't complicated, just disciplined.
Our full renovation planning checklist covers the structural steps from scope to final inspection. This article focuses on the decision-making habits that keep projects on track even when surprises emerge.
The Practices That Actually Make the Difference
These aren't abstract tips — they're the specific behaviors that separate renovations that finish on time and on budget from those that don't. Apply them before work begins, and consistently throughout the project.
Lock down a written contract before any work starts.
A detailed contract is your primary protection if a dispute arises. It should specify the scope of work, materials, payment schedule, start and completion dates, and how change orders are handled. Without it, disagreements over what was agreed become difficult — and expensive — to resolve.
Build a contingency fund of at least 15–20% on top of your base budget.
Renovations routinely surface hidden problems — rot behind a wall, outdated wiring, undersized drains — that weren't visible during the estimate. Without a financial buffer, these discoveries force painful choices mid-project. See our companion piece on hidden renovation costs for a fuller breakdown.
Freeze the project scope before demolition begins.
Scope creep — adding tasks mid-project — is the single most common cause of budget blowouts and schedule delays. Every addition disrupts the contractor's workflow, requires new materials, and can cascade into other trades. Experienced homeowners make all design decisions before the first wall comes down.
Verify permits and inspections yourself — don't assume the contractor handled it.
Contractors occasionally skip the permitting process to save time or money. As the property owner, you are ultimately responsible for unpermitted work on your home. Unpermitted projects can complicate sales, void homeowners insurance claims, and require costly remediation.
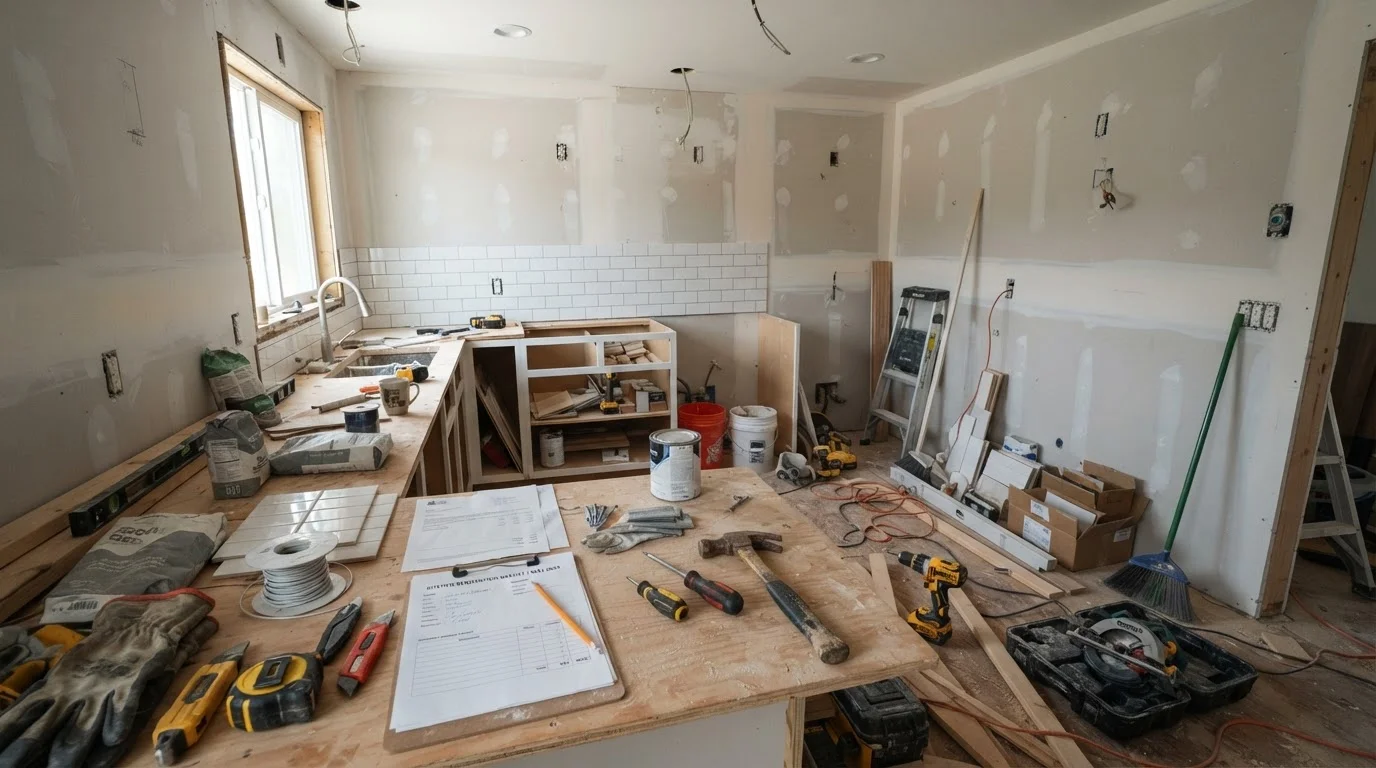
Document work in progress with dated photographs.
Photos of walls before they're closed up, of pipe locations, of electrical runs, and of structural work protect you in disputes and provide a valuable record for future repairs or improvements. They're also increasingly expected by buyers during home sales.
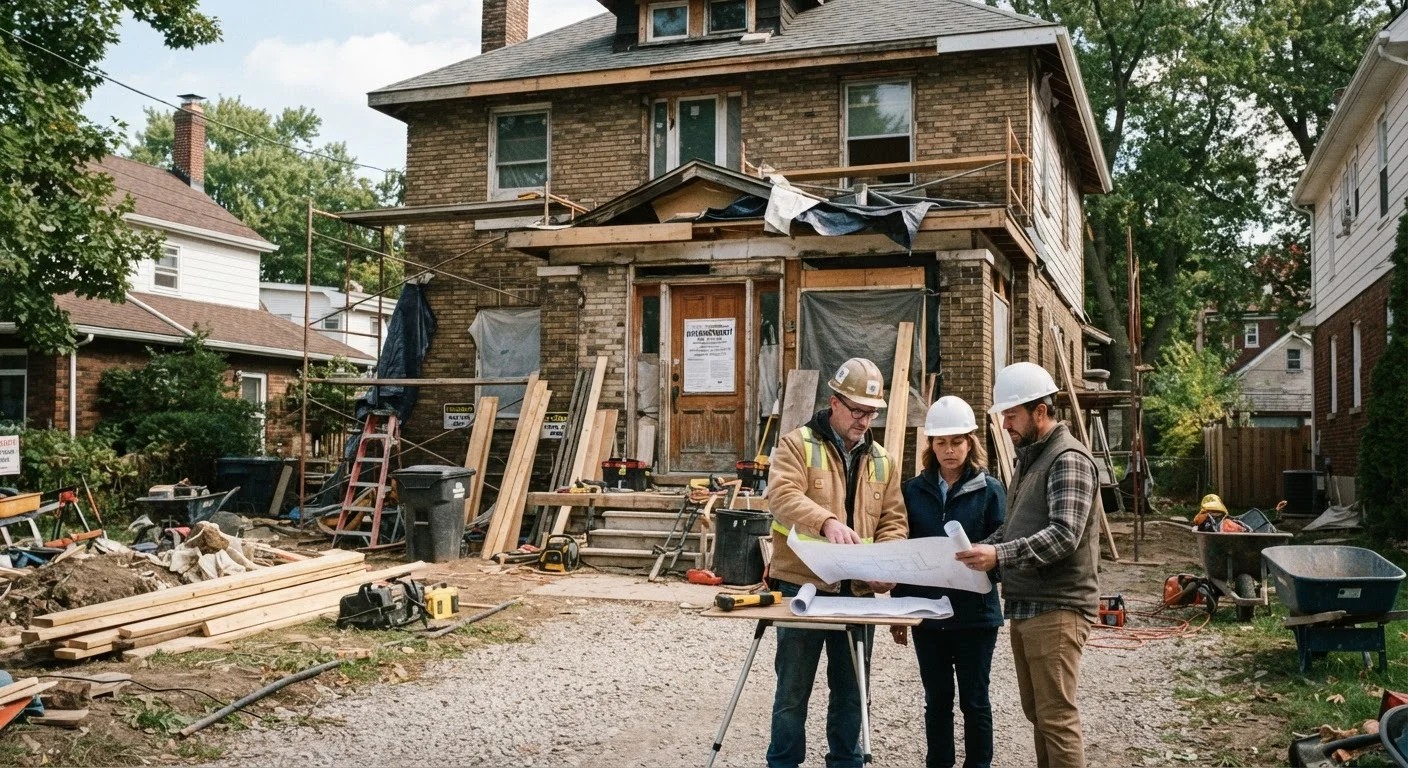
Establish a clear communication rhythm with your contractor.
Miscommunication is a leading cause of rework, delays, and strained relationships. Agreeing upfront on how often you'll check in — and through what channel — keeps everyone aligned without micromanaging.
When Permits Are Required
Many structural, electrical, plumbing, and HVAC projects require permits issued by your local building department before work begins. Skipping this step can create serious problems when you sell your home or make an insurance claim. Our article on permits and inspections explains what's at stake in detail. Always verify requirements with your local authority — rules vary significantly by municipality.
Start Here: Three Things You Can Do Today
You don't need to wait for the next renovation to apply better habits. If a project is already underway, or if you're in the planning stages, these actions are immediately actionable.
If your project touches areas like load-bearing walls or structural changes, also review our primer on what's involved before altering a load-bearing wall. And if you're managing a tight overall household budget alongside a renovation, a phased approach to furniture spending can help you avoid overextending across multiple rooms at once.
This article is for general informational purposes only. Home improvement requirements vary by location. Always verify local permit requirements and consult licensed professionals for work involving structural, electrical, plumbing, or other regulated systems.