
Why Small Gaps Have a Big Impact
A gap the width of a dime at the base of your front door is roughly equivalent — in air loss — to a small hole cut straight through the wall. Multiply that across every exterior door, window frame, electrical outlet on an outside wall, and baseboard seam in your home, and the cumulative energy waste can be significant. For many households, unsealed air leaks account for a meaningful share of heating and cooling costs.
The good news is that weatherproofing is one of the few home improvement tasks where a beginner can make a real, measurable difference in a single weekend. It doesn't require structural knowledge, specialized licensing, or expensive equipment. What it does require is a systematic approach to finding leaks before you seal them.
This walkthrough pairs well with our guide to choosing between caulk and weatherstripping, which goes deeper on matching the right material to each type of gap.
What you will need
What You'll Need
Gather your materials before you start moving through the house. Having everything on hand lets you seal gaps as you find them rather than making multiple trips.
Caulk gun and paintable latex caulk
Seals stationary gaps around window frames, door frames, and baseboards where surfaces don't move.
Foam weatherstripping tape
Compresses to fill gaps between moving parts, such as door edges and window sashes.
Door sweep or door shoe
Seals the gap between the bottom of an exterior door and the threshold to block drafts at floor level.
Utility knife and putty knife
Removes old, cracked caulk or deteriorated weatherstripping before applying new material.
Flashlight or incense stick
Detects drafts — a flickering flame or smoke trail reveals air movement near gaps.
Painter's tape
Creates clean edges when applying caulk along window frames or trim.
Foam backer rod
Fills deep or wide gaps before caulking so the caulk doesn't sink or crack.
For a broader look at seasonal prep that supports this kind of maintenance, see our article on seasonal household essentials most people overlook.
Finding and Sealing the Leaks: Step by Step
Work through the house methodically — one room at a time, starting with exterior walls. Trying to find every leak at once leads to missed spots. The steps below cover detection and sealing in a single pass.
Detect drafts with a simple airflow test
On a cold or windy day, hold a lit incense stick (or a thin piece of tissue paper) near window frames, door edges, electrical outlets on exterior walls, and baseboards. Smoke that bends or paper that flutters indicates air movement. Mark each leak with a small piece of painter's tape so you don't lose track of it before sealing.
Remove old or damaged sealant
Before applying anything new, clear out deteriorated caulk or weatherstripping. Use a putty knife or utility knife to scrape away old caulk from window and door frames. For weatherstripping, peel it off and use a damp cloth to remove any adhesive residue. Applying new material over old rarely holds well and will need to be redone sooner.
Caulk stationary gaps around frames and baseboards
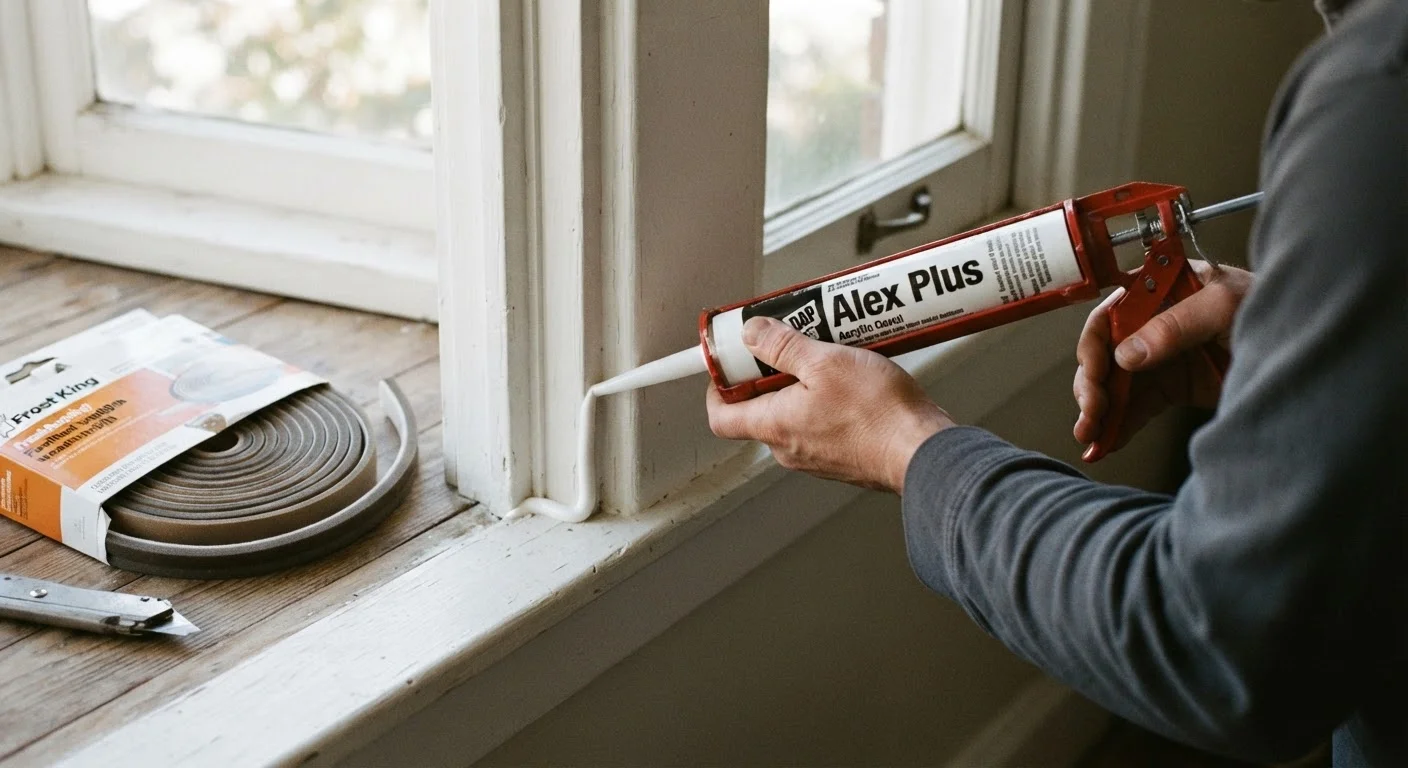
Load the caulk gun and cut the tip at a 45-degree angle for a clean bead. Apply a continuous line of caulk along the joint between the window or door frame and the wall, and along any baseboard gaps on exterior walls. Smooth with a wet fingertip or a caulk finishing tool. Allow to cure fully before painting — check the product label for cure time.
For gaps wider than about half an inch, press in foam backer rod first to give the caulk a stable base to bond to.
Apply weatherstripping to door and window edges
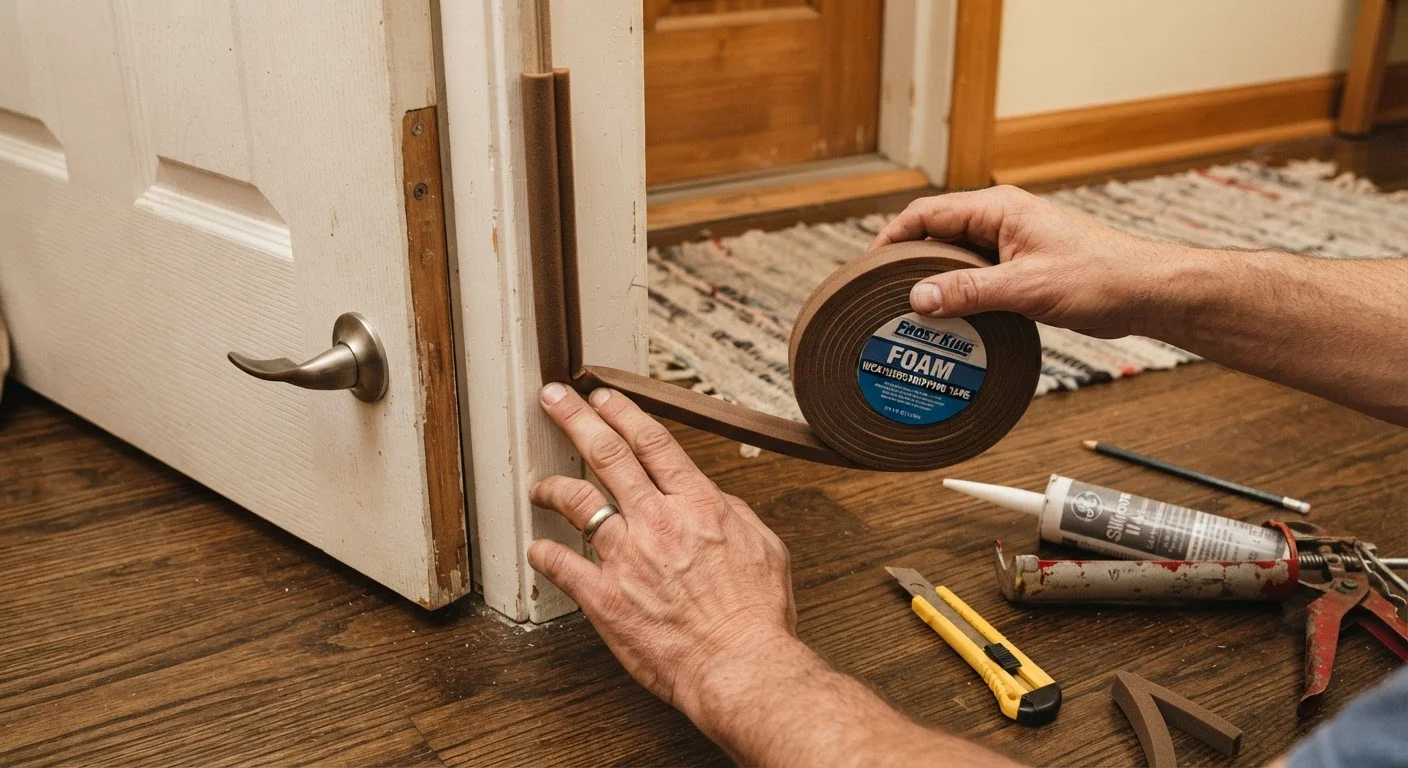
Measure the length of each door or window edge that needs sealing. Cut foam or rubber weatherstripping to fit, peel the adhesive backing, and press firmly into the door stop (the strip of wood the door closes against). Close the door or window to verify the fit — you should feel light resistance but the door should still close and latch without force.
Install or replace the door sweep
Slide a piece of paper under each exterior door. If it moves freely, the gap needs a door sweep or door shoe. Most door sweeps screw directly to the interior face of the door at the bottom. Measure the door width, cut the sweep to fit if needed, and attach with the included screws. The sweep should brush the threshold lightly when the door closes.
Seal electrical outlets and switch plates on exterior walls
Remove the outlet or switch cover plate. Behind it, you'll often find a gap where the electrical box meets the wall cavity — a direct path for outside air. Press pre-cut foam outlet gaskets (sold as a pack) behind the cover plate and replace it. For larger gaps inside the box, a small amount of fire-rated foam sealant can be applied carefully around the wiring — do not spray into the wiring connections themselves.
Recheck Your Work After the First Cold Snap
Temperature changes cause building materials to expand and contract, which can compress new weatherstripping or shift freshly cured caulk. Running a quick airflow check two to four weeks after your initial sealing session helps you catch any gaps that reopened — especially around door sweeps and window sashes.
Once you've sealed the obvious leaks, consider doing a broader home audit. Our home audit walkthrough offers a useful framework for catching problems before they escalate.
What Weatherproofing Won't Fix
Sealing gaps is effective for stopping air infiltration, but it's not a substitute for adequate insulation. If your attic or wall cavities are under-insulated, sealing door frames will only go so far. Our insulation explainer covers how batt, blown-in, and spray foam insulation compare — and where each performs best.
Similarly, if you notice condensation between window panes, significant structural gaps, or signs of water intrusion, those issues typically warrant a professional assessment. Weatherstripping and caulk handle surface-level sealing; they don't address underlying moisture damage, failed window seals, or structural movement. For projects that go beyond basic sealing, our piece on managing a renovation effectively is worth reading before you engage any contractor.
Weatherproofing is also a smart smart spending move — the materials are low-cost and the energy savings compound over time, making it one of the higher-return DIY investments available to most homeowners.