
Why Preparation Matters Before You Install
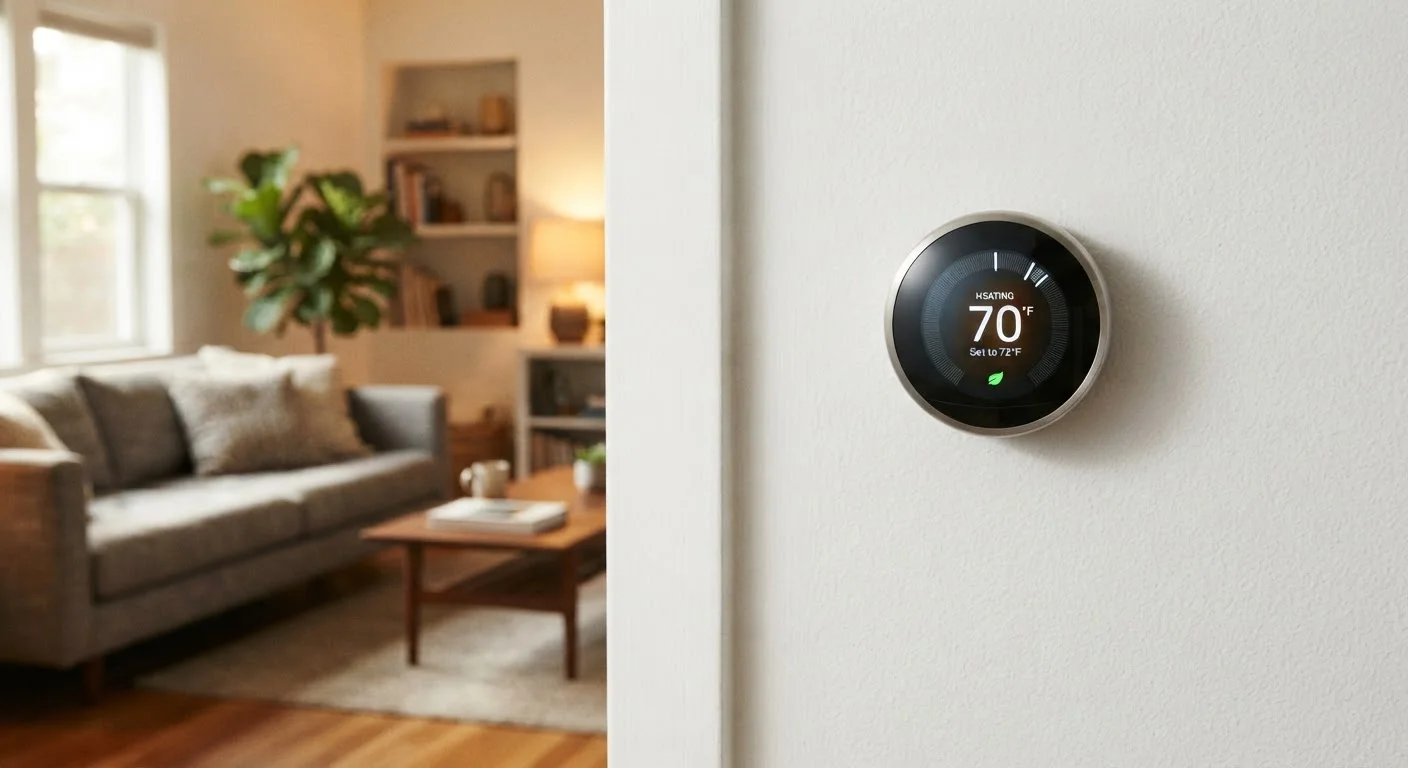
Smart thermostats promise convenience and potential energy savings, but they aren't plug-and-play for every home. Your existing heating and cooling system, your home's wiring, and even the wall where you plan to mount the device all affect whether installation goes smoothly — or becomes a frustrating afternoon project.
This checklist walks you through everything worth verifying before you open the box. If you're building out a broader connected home, it's also worth reading about how smart lighting integrates with connected home systems, since many smart thermostats share apps and automation platforms with lighting devices.
System Compatibility
Wiring Check
Connectivity and App Setup
Placement and Installation Prep
Tools and Resources You'll Need
Having the right materials on hand before you start prevents mid-installation trips to the hardware store. Some tasks — particularly anything involving your home's electrical panel or gas lines — should always be handled by a licensed HVAC technician or electrician. When in doubt, call a professional rather than risk damage to your equipment or personal injury.
Flathead and Phillips screwdrivers
Used to remove the existing thermostat from the wall and secure the new mounting plate.
Masking tape and marker
Used to label individual wires before disconnecting them from the old thermostat.
Smartphone with camera
Used to photograph existing wiring connections for reference during installation.
Non-contact voltage tester
Used to confirm that power to the thermostat wiring has been safely shut off before you touch any wires.
Bubble level
Used to ensure the new thermostat mounting plate sits straight on the wall.
C-wire adapter kit
Required if your existing wiring lacks a common wire and your chosen thermostat needs continuous power.
When to Stop and Call a Professional
If you open your wall and find unusual wiring — more than five wires, unfamiliar terminal labels, or signs of prior DIY work — stop and consult a licensed HVAC technician before proceeding. Similarly, if your system involves gas connections, high-voltage wiring, or your circuit breaker is unlabeled, professional installation is the safer path. Incorrect wiring can damage your HVAC equipment or create a fire hazard.
Understanding Your Wiring: The Most Critical Step
The single most common obstacle people hit when installing a smart thermostat is wiring. Most smart thermostats require a C-wire (common wire), which provides a continuous 24-volt power supply. Older homes often have only four wires connected to the thermostat — and the C-wire simply isn't there.
Before buying, pull your current thermostat off the wall (don't disconnect anything yet) and look at the terminal labels on the base. If you see a wire connected to a terminal labeled C, you're set. If not, check whether a fifth wire exists but is unused — sometimes installers left a spare wire coiled behind the wall. Some smart thermostats include a plug-in power adapter as an alternative, and a few models use a power-stealing method that doesn't require a C-wire, though that approach can cause compatibility issues with certain HVAC systems.
Take a clear photo of all wire connections before removing anything. Label each wire with masking tape if you have it. This one habit prevents the most common installation error: forgetting which wire went where.
Always Cut Power Before Touching Wires
Never disconnect or reconnect thermostat wires with the HVAC system powered on. Turn off the relevant circuit breaker and use a non-contact voltage tester to confirm the wires are de-energized before touching them. Even low-voltage thermostat wiring can damage your equipment or cause a short if handled while live.